
Asbestos testing is crucial in identifying hidden dangers within your home that could lead to severe health issues like respiratory diseases and cancers. Common areas to inspect include walls, ceilings, insulation, and flooring. Various types of tests, such as Polarized Light Microscopy and Transmission Electron Microscopy, allow for accurate analysis of samples. Safety protocols are critical during sampling to prevent fiber release. While costs vary based on property size and testing methods, the importance of protecting your health and maintaining property value cannot be overstated. Understanding these aspects can greatly improve your home's safety. More insights await you on this topic.
Importance of Asbestos Testing
The importance of asbestos testing cannot be overstated when it comes to safeguarding health and guaranteeing compliance with regulations. As a property owner or manager, you need to recognize that identifying asbestos is essential for health protection. Asbestos exposure poses considerable risks, including respiratory diseases and various cancers. By conducting tests, you can detect and address these hidden hazards before they lead to serious health issues. Additionally, asbestos testing is crucial for ensuring compliance with health and safety regulations designed to protect workers and the public.
Furthermore, adhering to asbestos regulations isn't just a legal requirement; it's a proactive measure to prevent potential legal and financial repercussions. Many jurisdictions mandate testing prior to any renovation or demolition, emphasizing the need for due diligence in managing asbestos. This guarantees that all safety protocols are adhered to and helps you avoid unexpected costs associated with improper handling. In fact, non-compliance can lead to significant fines and legal issues.
Regular monitoring and testing likewise play an important role in evaluating the effectiveness of any remediation efforts. By implementing proper management and removal strategies based on accurate testing results, you can greatly reduce health risks. Ultimately, asbestos testing empowers you to create a safer environment for everyone involved, aligning your actions with both health protection and regulatory compliance.
Types of Asbestos Tests
When it comes to asbestos testing, understanding the common methods available is vital for accurate results. You'll find that lab analysis techniques vary markedly, affecting both sensitivity and specificity. Furthermore, adhering to sampling safety protocols is critical to guarantee reliable findings and protect your health during the testing process. Professional testing ensures compliance with strict regulations to minimize contamination risks and safeguard your well-being.
Common Testing Methods
Asbestos testing employs various methods tailored to different materials and situations, guaranteeing accurate identification and assessment of potential hazards. For bulk materials, the Polarized Light Microscopy (PLM) method is standard, focusing on properties like morphology, color, and extinction characteristics. This technique adheres to the EPA standard (EPA/600/R-93/116) and requires testing by a UKAS accredited laboratory. If you're concerned about asbestos risk in air samples, Transmission Electron Microscopy (TEM) is the go-to method. TEM provides high magnification and resolution, crucial for identifying fine fibers and their chemical composition, following standards like EPA/600/R-12/572.
It's important to choose the right testing method based on whether you're examining bulk materials or air samples. Phase Contrast Microscopy (PCM), while useful for initial air monitoring, has limitations, as it can't differentiate between asbestos and other fibers. Consequently, if you suspect asbestos in your home, consider hiring a trained professional for accurate testing. Regular inspections and safe sample collection are fundamental steps in managing asbestos risk. By understanding these common testing methods, you can guarantee testing accuracy and protect your health.
Lab Analysis Techniques
Understanding lab analysis techniques is crucial for effectively identifying and evaluating asbestos in various materials. One method is stereomicroscopy, which provides a three-dimensional view of samples. This technique allows analysts to identify fibers based on appearance and physical properties, selecting the most relevant fibers for further analysis. Stereomicroscopy benefits from its ability to guide the choice of refractive index (RI) liquid used in subsequent tests.
Next, Polarized Light Microscopy (PLM) is commonly employed for asbestos fiber identification in building materials. While PLM is effective for initial identification, it has limitations regarding concentration measurement, providing qualitative results that confirm the type of asbestos present but not its concentration.
On the other hand, Transmission Electron Microscopy (TEM) offers distinct advantages, especially for detecting small or low traces of asbestos. It facilitates detailed analysis of fiber composition and structure, making it ideal for air and dust samples, particularly in commercial buildings and schools. TEM is more sensitive than PLM, allowing for more accurate identification of asbestos fibers and their concentrations, thereby providing an all-encompassing understanding of potential asbestos hazards in your environment.
Sampling Safety Protocols
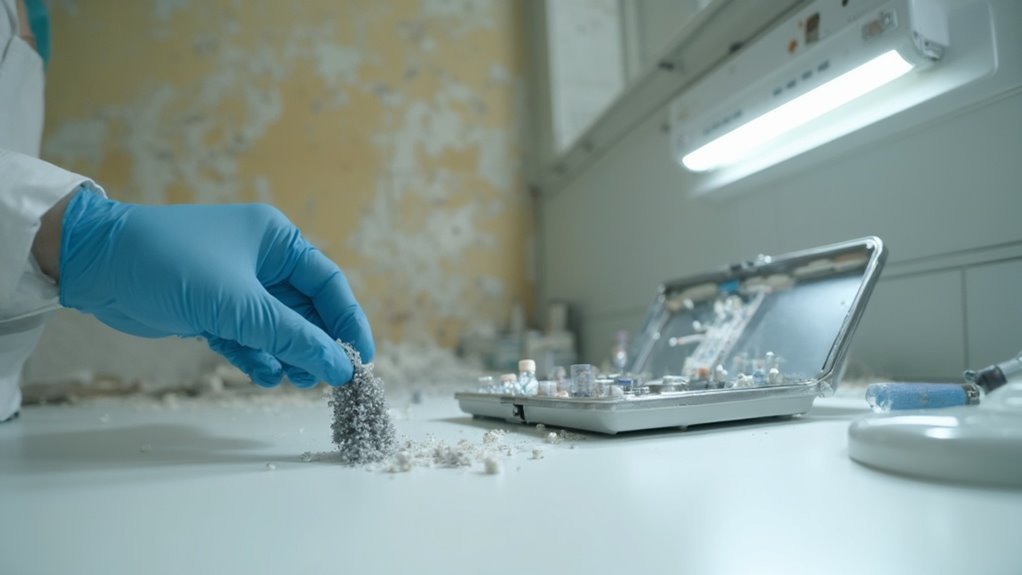
Sampling safety protocols are critical to maintaining a secure environment while testing for asbestos. Before sampling, isolate the area by shutting down HVAC units and sealing vents with plastic sheeting. This prevents asbestos fibers from spreading throughout the home. Always verify no one else is present during the process to minimize exposure risks.
When collecting samples, use appropriate sampling equipment. Wet the material with a fine mist of water mixed with detergent to contain fibers. Carefully cut a piece from the material's depth with a sharp tool and place it in a clean container, like a high-quality resealable plastic bag. Using disposable gloves and washing your hands afterward are fundamental health precautions to avoid contamination.
For cleanup, utilize HEPA filter vacuums to effectively collect and remove any residual asbestos fibers. It's typically not advisable to conduct sampling yourself; consider hiring a trained asbestos professional equipped with specialty tools. They'll confirm that safety protocols are strictly followed, protecting both you and your environment from potential hazards. Proper protective equipment (PPE) is crucial for anyone involved in the sampling process to maintain safety throughout.
How Testing Is Conducted
When you conduct asbestos testing, the first step involves careful sample collection from suspected areas by certified inspectors. These samples are then sent to accredited laboratories for detailed analysis using specific methods tailored to the type of sample, whether air, building material, soil, or water. Understanding this process is vital for ensuring accurate identification and assessment of potential asbestos hazards.
Sample Collection Methods
Collecting samples for asbestos testing is a critical step in determining the presence of hazardous materials in your environment. You'll need to employ effective sampling techniques tailored to the specific materials you're dealing with. Each sample should be about one to two square inches, guaranteeing you capture all layers, including paint, glue, or protective coatings.
When sampling drywall and plaster, remember to collect from both the scratch-coat and the finish coat. For tiles, don't forget to sample the mastic used for adhesion. If you're dealing with vermiculite, gather at least one cup from the bottom half inch, using a flat-bottomed scoop. It's vital to take multiple samples from different locations to verify accuracy.
Safety is paramount, so wear a NIOSH-approved half-face P100 respirator, especially when sampling vermiculite. Minimize your exposure time and clean the sampling area by wiping down the outside of your sample bags. Clearly label each sample and complete a Chain of Custody form before submitting them for analysis. By understanding these material considerations and adhering to these guidelines, you'll improve the reliability of your asbestos testing efforts.
Laboratory Analysis Process
Upon submitting your samples for asbestos testing, the laboratory analysis process begins with stringent preparation protocols designed to minimize contamination risks. Samples are handled in a controlled environment, utilizing an enclosed particle hood with negative pressure and HEPA filters to guarantee that no asbestos fibers escape into the air. Initially, analysts examine the samples using stereomicroscopy to identify potential asbestos fibers based on their fiber morphology and physical characteristics.
Next, the fibers are mounted on slides with a refractive index liquid, allowing for detailed analysis. Polarized Light Microscopy (PLM) is then employed to confirm the presence of asbestos, focusing on properties like color and pleochroism. This step emphasizes analytical accuracy, as the analysis is repeated for each suspected fiber type.
For a more detailed evaluation, Transmission Electron Microscopy (TEM) may be used, particularly for detecting smaller particles. Each stage of analysis is documented in an approved database, guaranteeing a clear record. Finally, the results are formally reported, detailing the presence and types of asbestos found, contributing to your understanding of potential risks in your environment.
Common Asbestos Locations
Asbestos can frequently be found in various areas of homes, posing significant health risks if disturbed. Understanding where asbestos might lurk is essential for compliance with asbestos regulations and for safeguarding your health. Historically, asbestos was widely used in construction owing to its durability and fire resistance, leading to its presence in many building materials.
Common locations for asbestos in your home include:
- Walls and Ceilings: Asbestos-containing ceiling tiles, textured coatings, and insulating boards.
- Insulation and Flooring: Vermiculite attic insulation, pipe insulation, and vinyl floor tiles.
- Exterior Areas: Asbestos cement roofing materials, siding shingles, and caulking.
- Basements and Crawl Spaces: Areas prone to disturbance during renovations where asbestos materials are often found.
- Maintenance Projects: Activities like drilling or sanding can release harmful fibers into the air.
Being aware of these common locations helps you prioritize safety and take appropriate action. If you suspect asbestos in your home, consider professional testing before undertaking any renovations or repairs. Understanding these risks is the first step in protecting yourself and complying with relevant regulations.
Benefits of Testing

While it may seem intimidating, testing for asbestos offers numerous benefits that greatly improve safety and compliance. First and foremost, early detection of asbestos helps you identify potential hazards before they escalate into serious health risks. Exposure to asbestos can lead to severe diseases like asbestosis, mesothelioma, and lung cancer, making timely testing vital for your well-being.
Moreover, testing guarantees the safety of construction workers and occupants during renovations or demolitions. By revealing hidden asbestos, you reduce the risk of long-term health issues and comply with legal obligations that many regions impose on property owners. These regulations require you to manage and disclose asbestos presence, protecting everyone involved.
Additionally, knowing your property's asbestos status can influence its value, particularly during transactions. By addressing potential asbestos-related issues early, you can avoid future costs and stress associated with unexpected findings. Professional analysis provides thorough reports that outline necessary actions, guaranteeing you have clear guidance for future renovations. Ultimately, regular testing not only safeguards your health but likewise reinforces compliance with safety regulations, providing peace of mind in your living environment.
Costs Involved
Understanding the costs involved in asbestos testing is crucial for property owners looking to guarantee safety and compliance. There are several testing factors that contribute to cost variations, which can greatly affect your budget. Here's what you should consider:
- Size and Complexity: Larger properties require more samples and labor, increasing costs.
- Type of Testing: Methods like air, dust, or physical samples have different price points.
- Number of Samples: More samples lead to higher testing and analysis fees.
- Location: Urban areas typically incur higher costs than rural ones.
- Laboratory Fees: Different labs charge varying amounts for analysis.
On average, you can expect to pay around $483 for asbestos testing, with most projects ranging from $231 to $778. Professional testing services can cost between $350 and $600, while DIY kits may seem cheaper but often lead to additional costs for lab analysis. Ultimately, understanding these costs will help you make knowledgeable choices about ensuring a safe living environment.
Safety Considerations
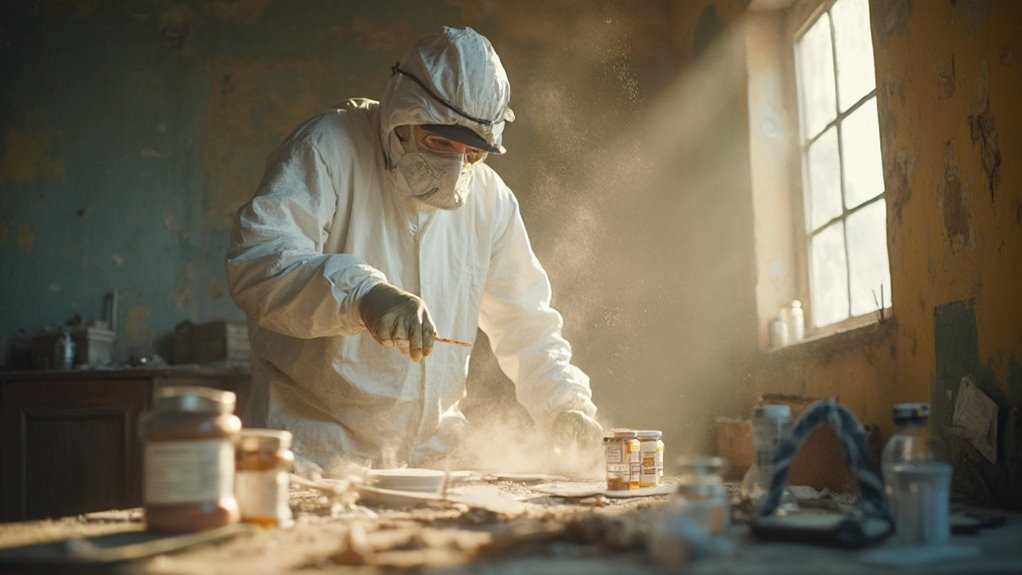
When it comes to guaranteeing safety during asbestos testing, taking appropriate precautions is vital. First, you must cultivate hazard awareness by inspecting materials for signs of wear or damage without direct contact. When sampling, confirm the area is isolated—no one else should be present, and heating or cooling systems should be turned off to prevent fiber dispersion.
Adopt protective measures by wearing disposable clothing, respiratory protection, and utilizing plastic sheeting to contain the workspace. Use a fine mist of water with detergent to minimize fiber release while sampling, and handle samples carefully. After collecting, place them in clean, labeled containers for secure transport.
Decontamination is critical; clean surfaces with damp paper towels and dispose of materials according to local regulations. While some may consider DIY sampling, the risks can outweigh the benefits because of inadequate equipment and improper analysis. Hiring accredited professionals not only guarantees safety but additionally assures accurate results. They follow the right protocols and know how to handle asbestos safely, reducing your exposure and health risks considerably. Always prioritize safety during asbestos testing to protect yourself and others from potential hazards.
Frequently Asked Questions
How Long Does Asbestos Testing Typically Take?
Asbestos testing typically takes a few hours for sample collection, followed by 24 hours to a week for sample analysis. Your property size and urgency can influence the overall duration of the testing methods employed.
Can I Test for Asbestos Myself?
You can test for asbestos yourself using DIY testing kits, but improper sampling might lead to inaccurate results. For safety and thorough analysis, consider hiring a professional who's trained and accredited in asbestos testing.
What Should I Do if Asbestos Is Found?
If asbestos is found, don't disturb it. Consider asbestos remediation options, like professional removal services. They guarantee safe handling and disposal, protecting your health while complying with regulations. Always document the findings for future reference.
Are There Any Health Risks During Testing?
During testing, you face health risks from airborne asbestos fibers. Implementing stringent health precautions and proper testing methods, like wetting materials and using protective gear, minimizes exposure and safeguards your well-being throughout the process.
How Often Should I Test for Asbestos in My Home?
You should test for asbestos whenever materials are damaged or before renovations. Regular inspections improve home safety precautions. Remember, an asbestos survey remains valid for up to 12 months unless significant changes occur.